
DIY Wooden Shelf Brackets
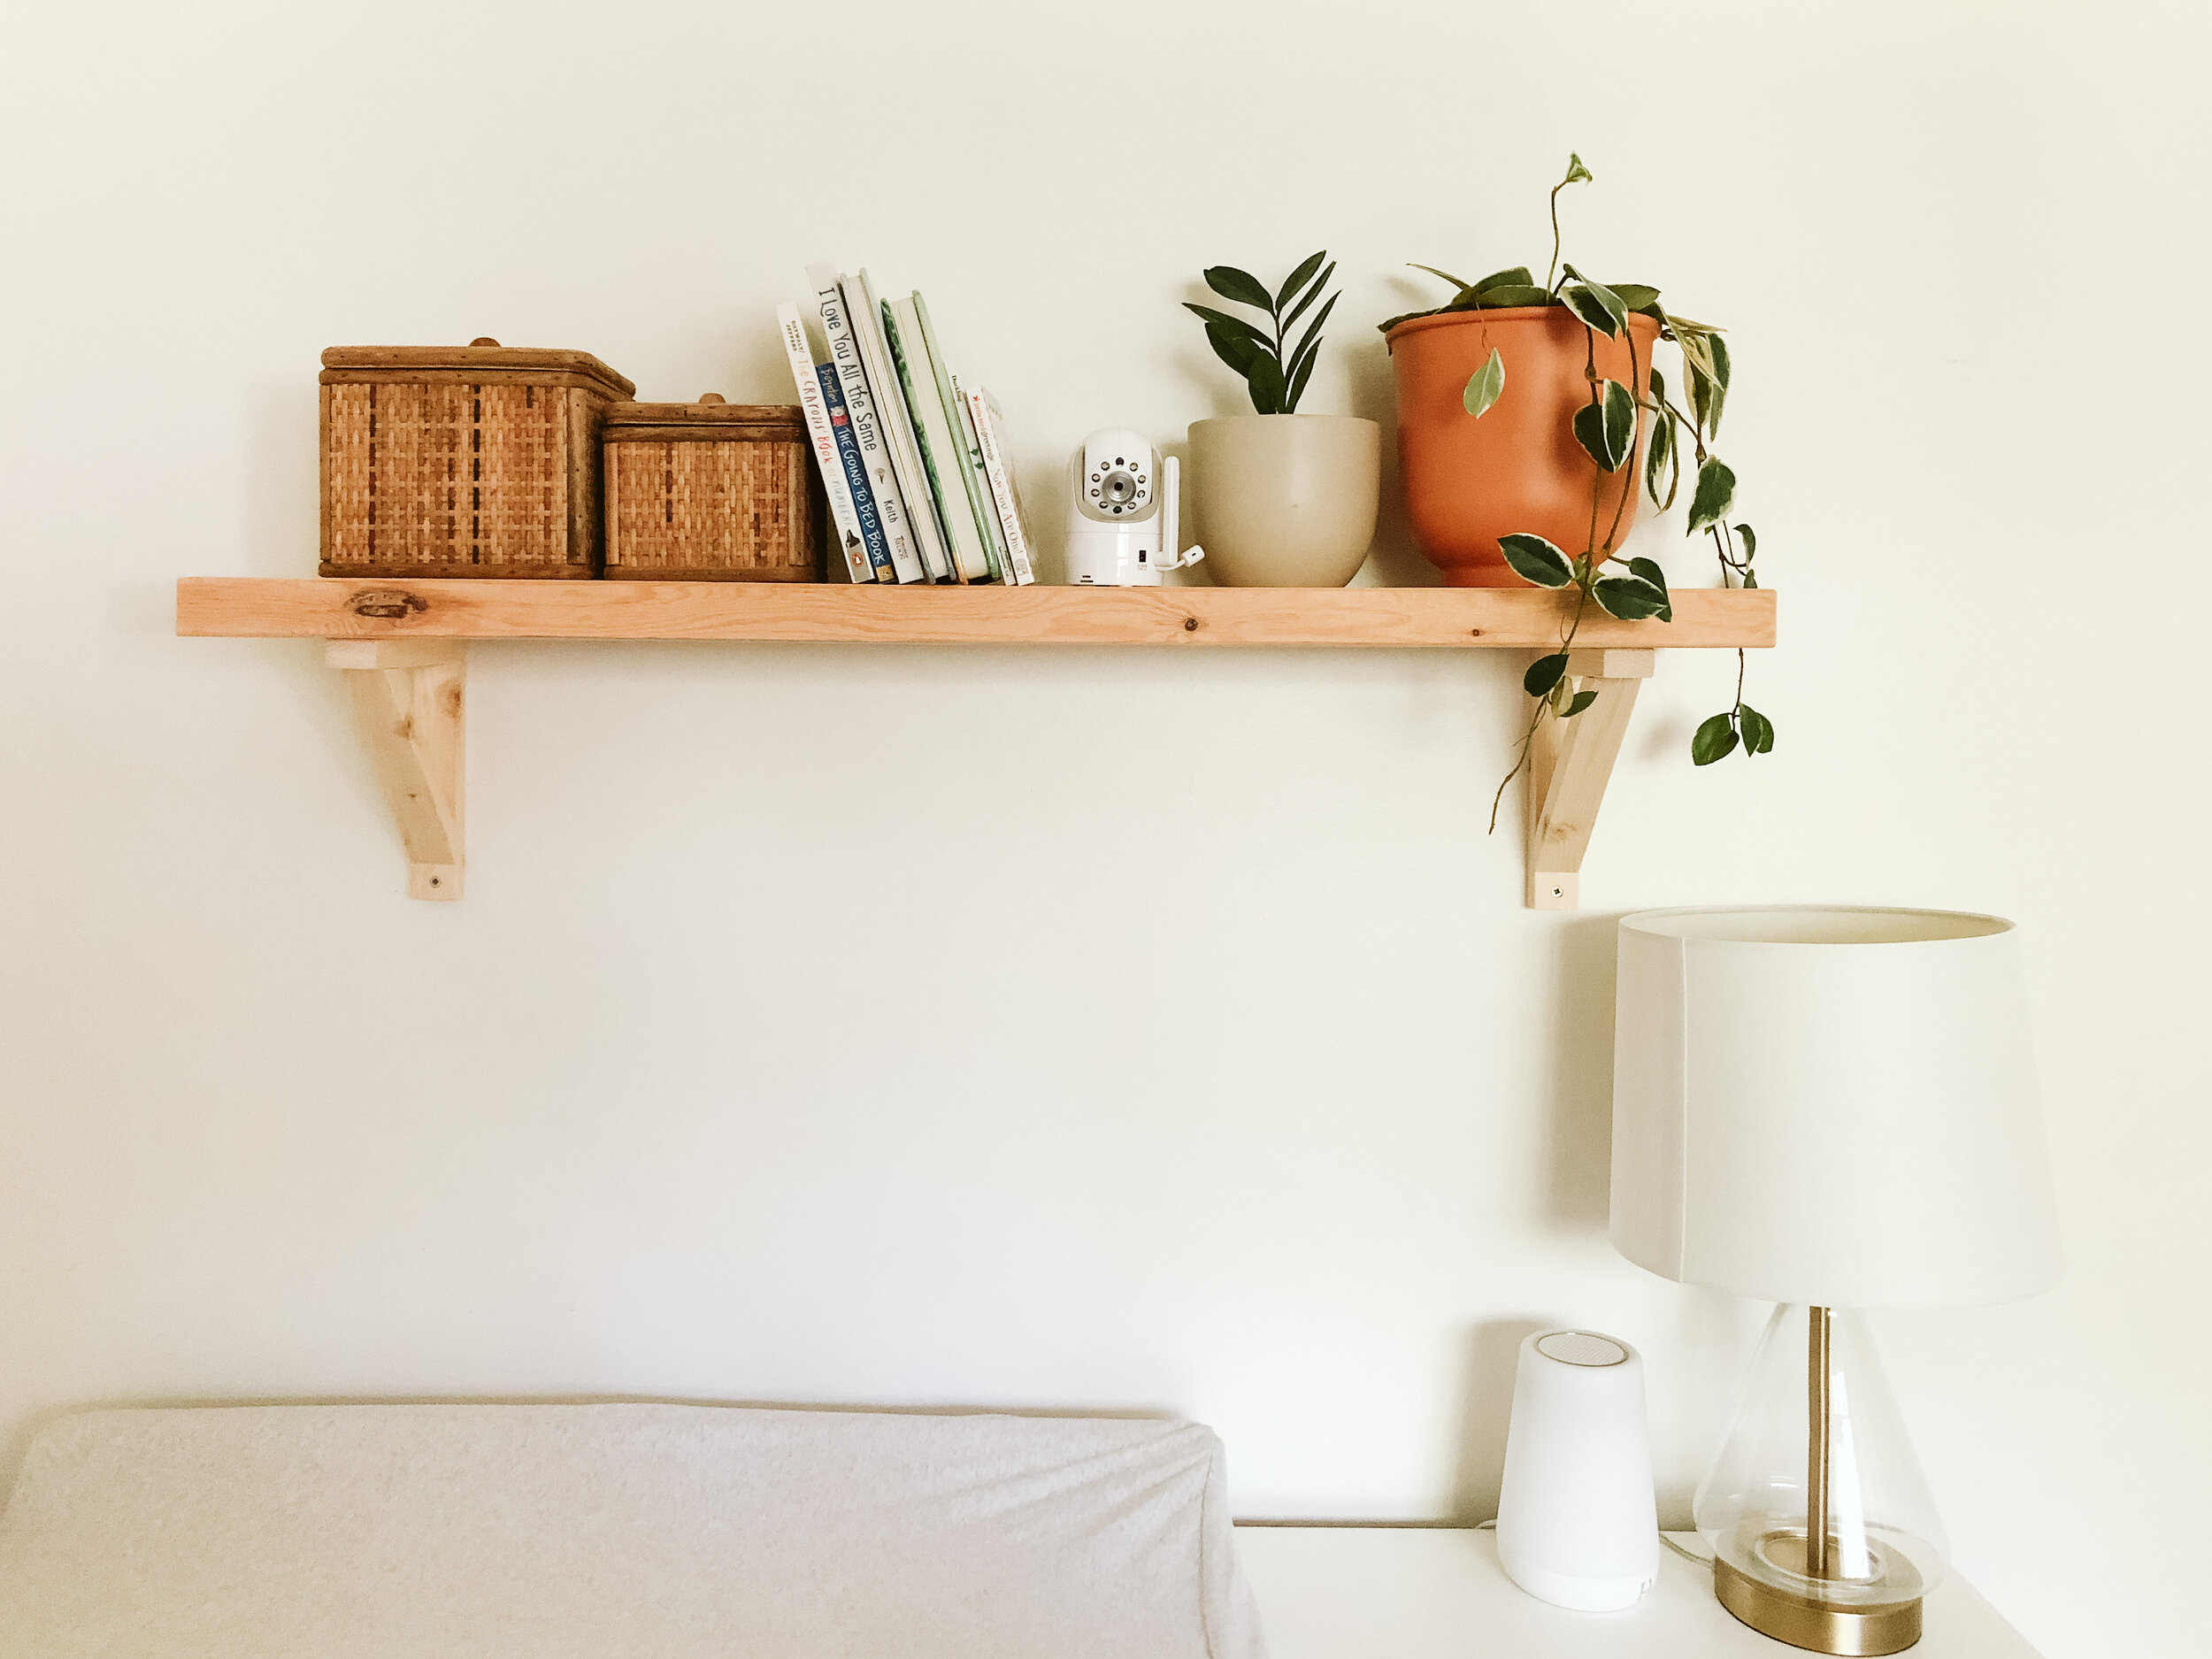
Good morning and Happy Monday, friends! We’re back atcha with another simple DIY project! Last fall, I purchased a few wooden shelf brackets from IKEA and wanted a few more for baby girl’s room, so Jason whipped up a couple in no time at all and they look just like the IKEA ones!!
Not only is this project super budget friendly, but it is so quick and easy, it honestly take just a few minutes to put together! You can easily add a little extra storage to any room that is cute and functional!
materials needed
1 1x4” Pine Board
Pencil
Square
Tape measure
Wood Glue
Miter or Chop Saw
Table Saw
18-gauge Air Nailer
instructions (repeat entire process for additional bracket)
Start by ripping the 1x4” down to 1-1/2” wide.

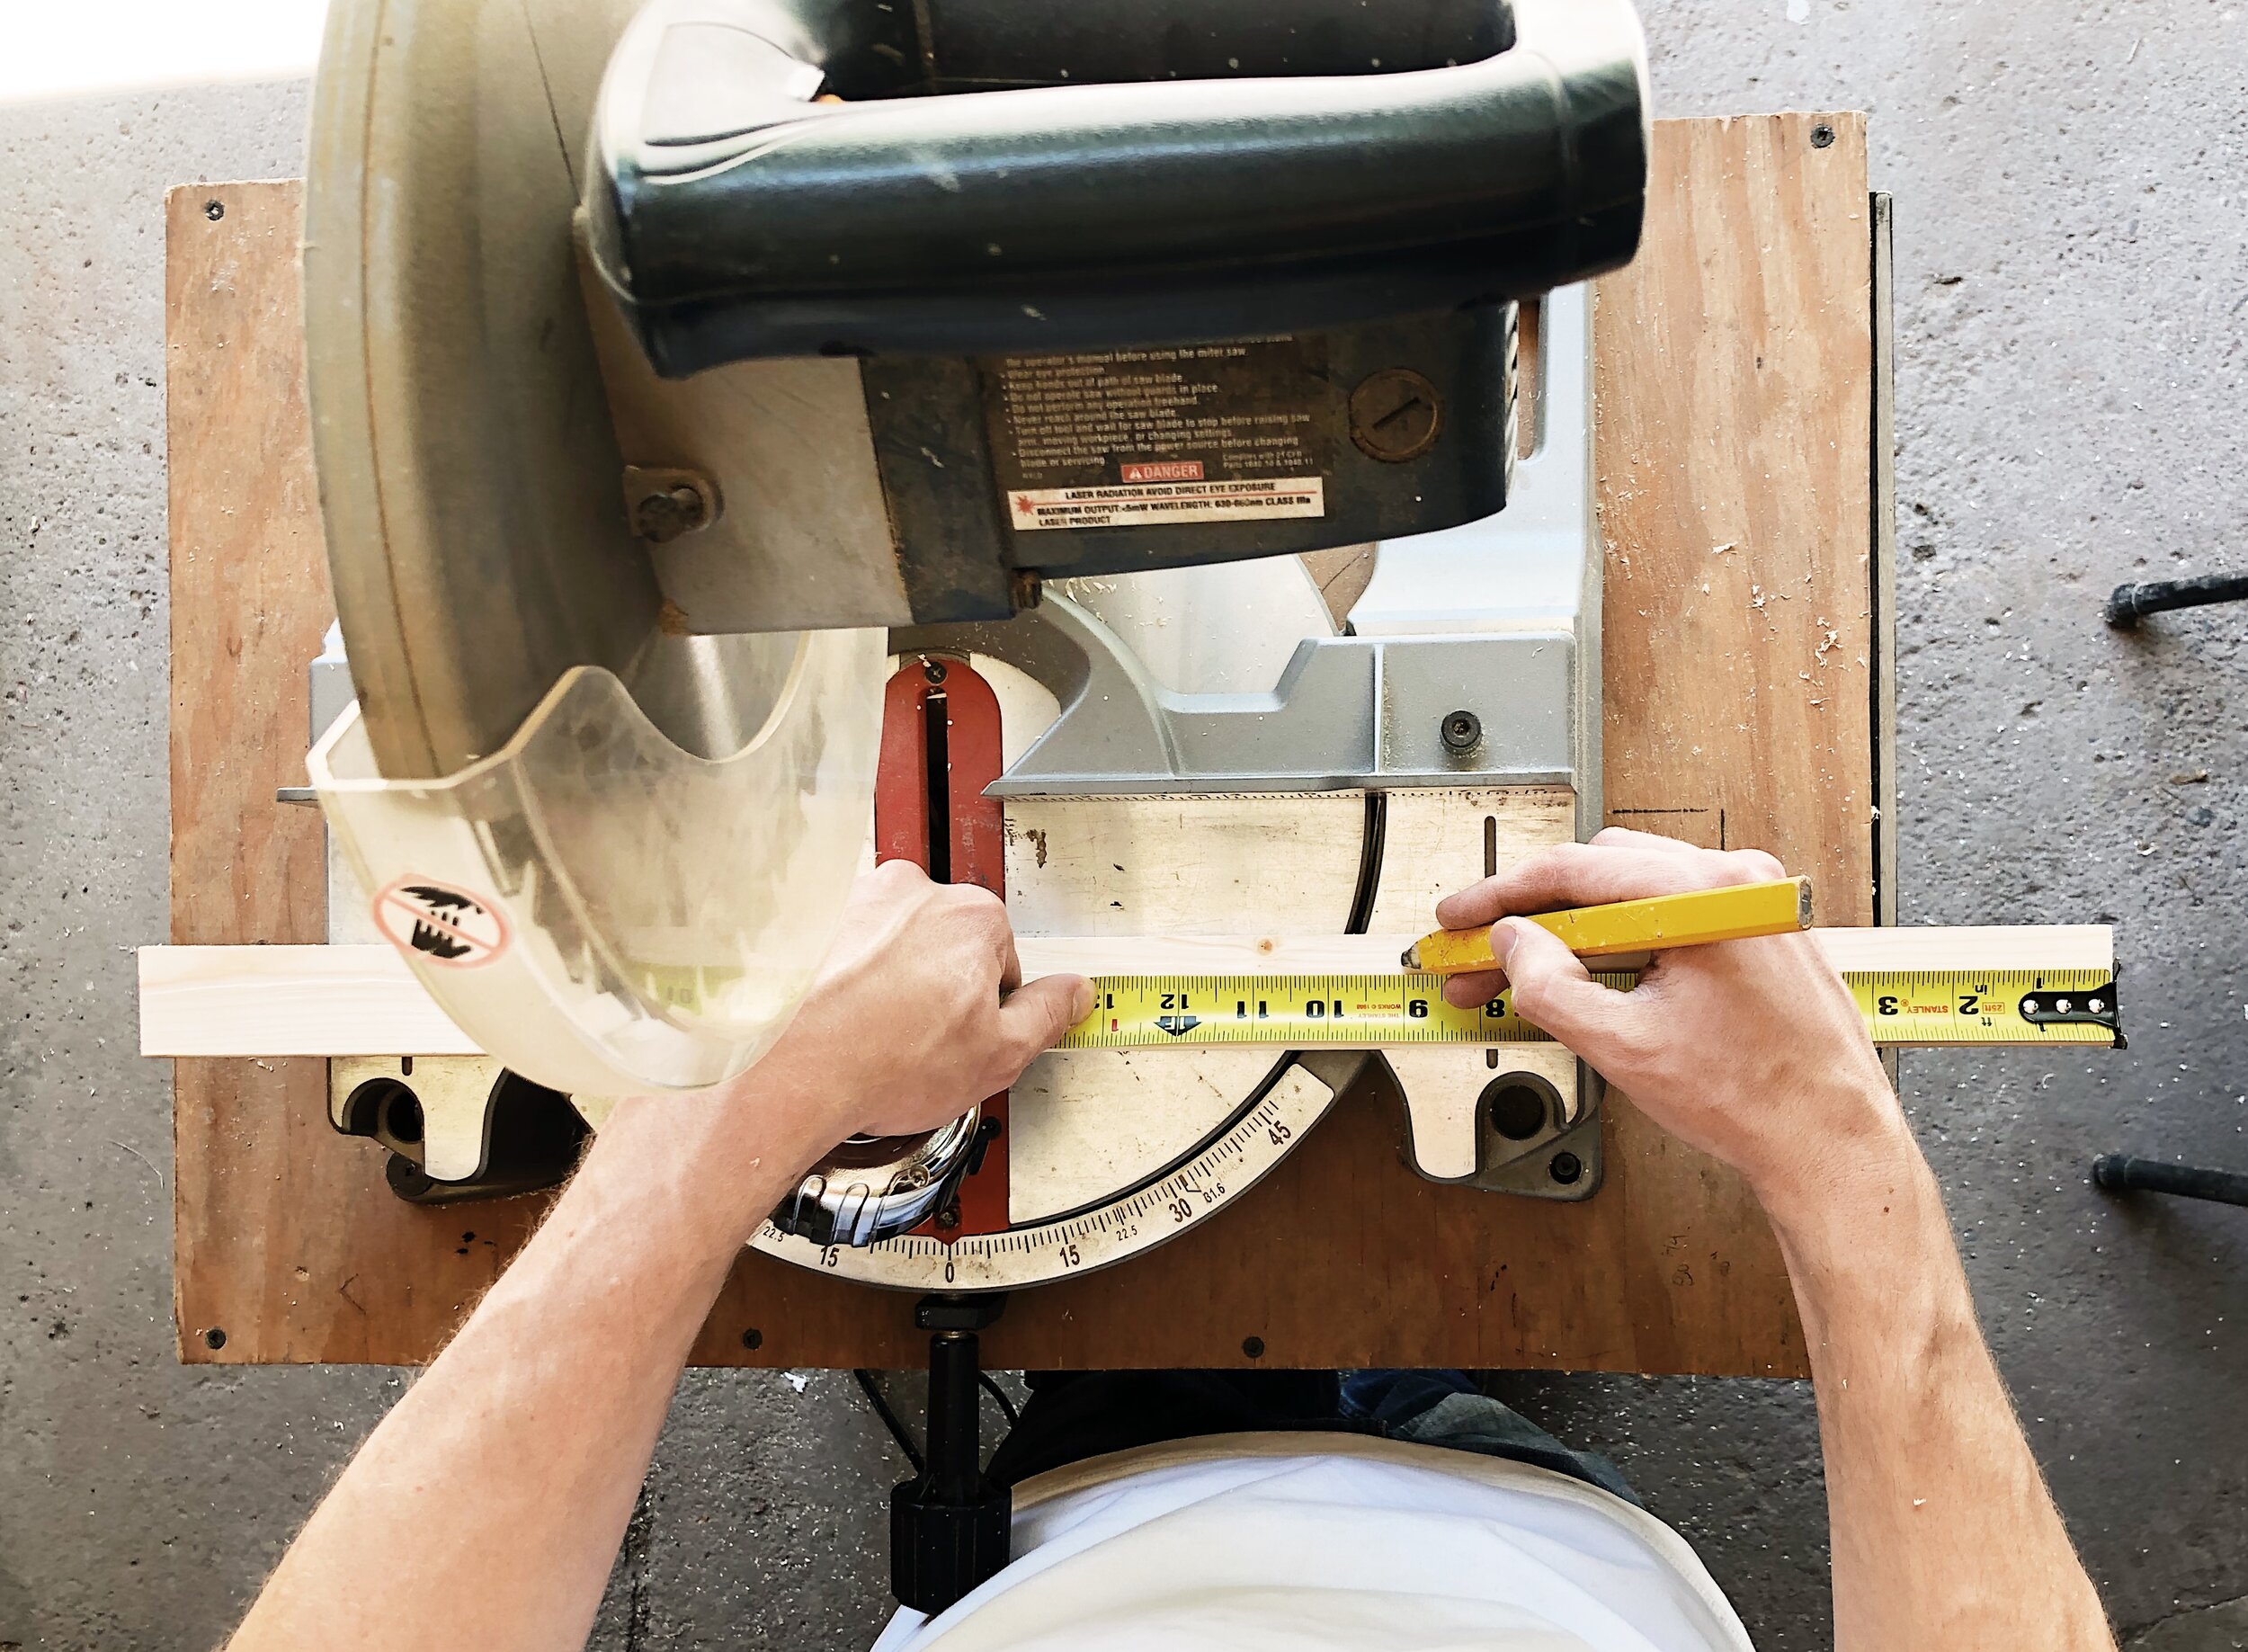
Then mark at 9” and make a cut.
Depending on the desired width of your shelf (ours is made from a 2x8”, but you can use any width large than this as well for these measurements!), you will cut your next piece 1/2” less than the width of the shelf. Making our cut at 6-3/4”. Leaving you with three separate pieces of wood that will make one shelf bracket.
On the 9” long piece, mark 1-1/2” down from the end.
On the 6-3/4” piece, spread wood glue on the edge and nail the pieces together on your mark. Now you will have a piece that makes a 90 degree angle.


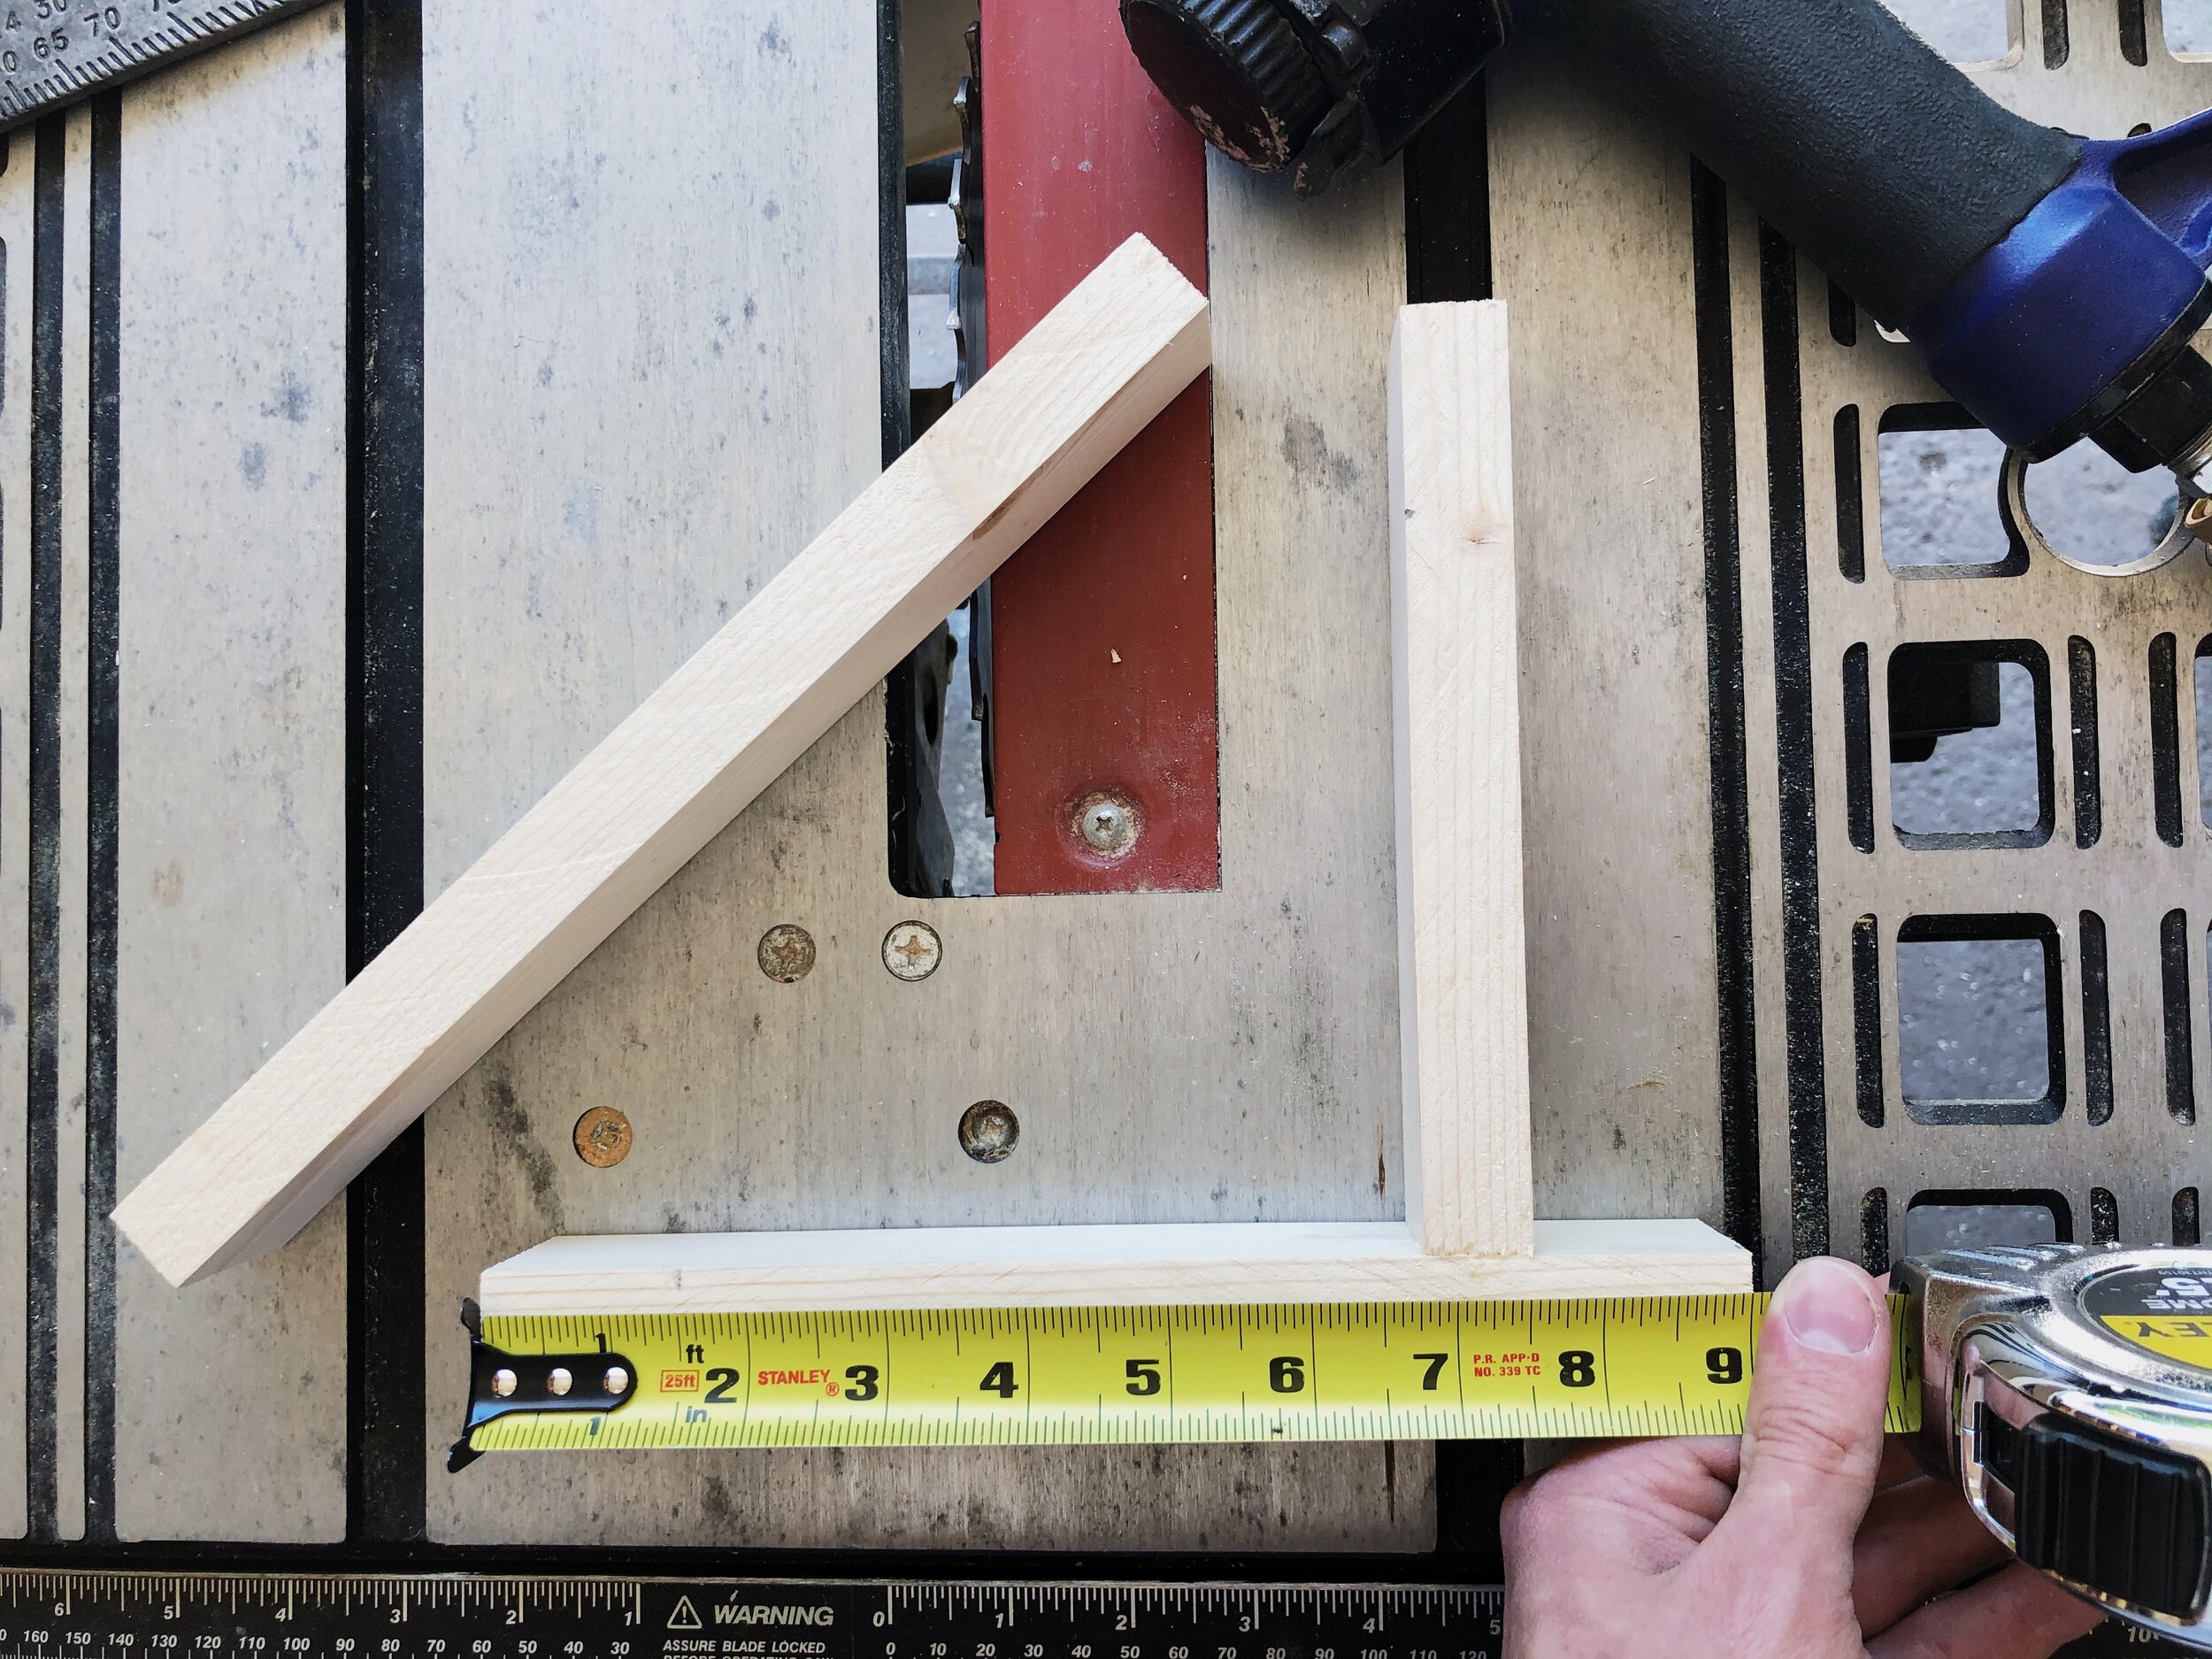
Measure 1-1/2” from each end of the bracket and transfer the marks from the narrow side to the wide side of your bracket.
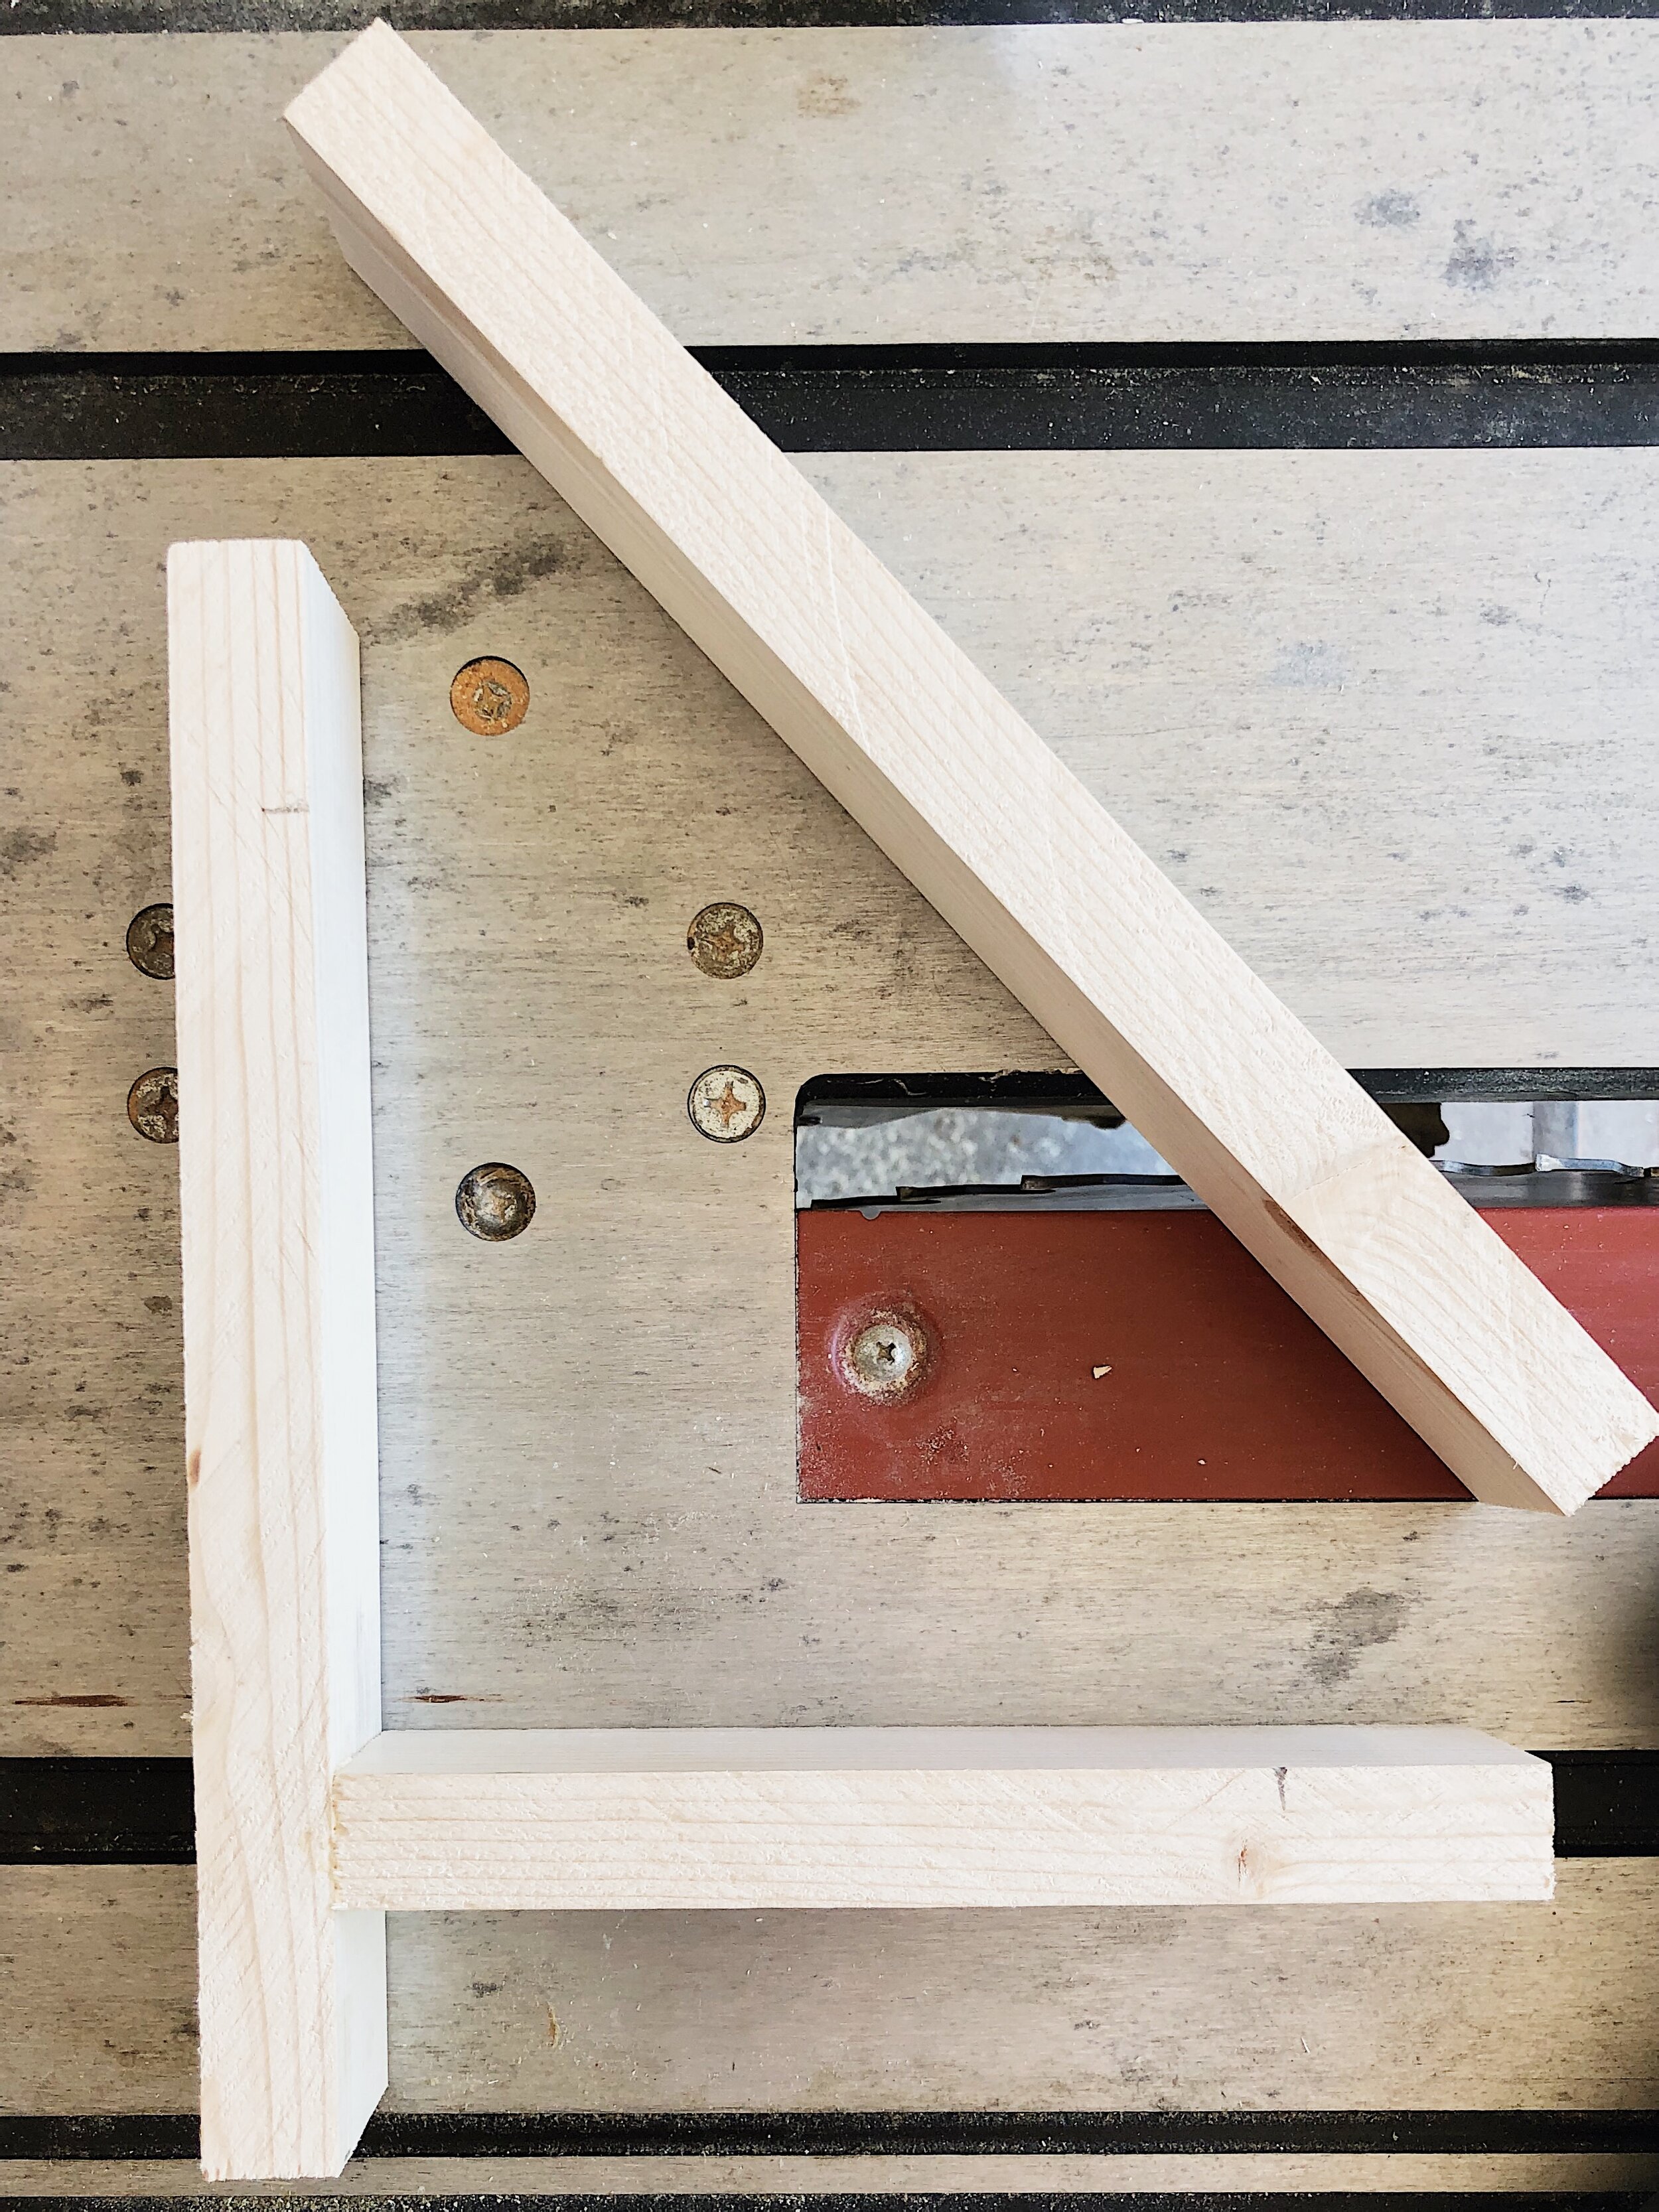
Lay the bracket on the remaining piece to mark the angles you need to cut—it should be a 45 degrees angle on both ends.

Then you’ll cut on the marked lines with a miter or chop saw. Put wood glue on both ends and nail it in place, completing the shelf bracket. Sand the bracket, then stain, paint, or leave as is! Whatever your heart desires!

Repeat the process for however many shelf brackets you need! We used two per shelf.


Have you guys been working on any DIY projects during this time at home? Be sure to share and tag us to let us know if you make these simple DIY wooden shelf brackets! We’d love to see how they turn out and where you use them in your home!